


Solutions
Horse Construction offers full range of structural strengthening materials with technical supports, documentation supports, products supports, project supports.
Carbon Fiber Reinforcement For Metal Pipes

The carbon fiber composite sheet to repair the steel pipeline structure is a kind of structural repair and reinforcement technology developed in the 1990s. This technology is highly valued internationally and has been widely used in chemical plants, civil buildings, bridges and other special structures. It has become the development trend of steel pipeline structure repair and reinforcement. With the continuous application of composite reinforcement technology, this technology has gradually matured and has gradually begun to be widely used.
Construction method and key points of carbon fiber reinforced pipeline
1. Development of a repair plan
Carbon fiber reinforcement is suitable for the repair of metal corrosion, cracks, carbon arc burns, slag inclusions or delaminations, internal corrosion defects that will not continue to develop, pits and spiral welded pipe body defects with defects below 80% of the wall thickness. . Not suitable for leaky, girth welds, defects greater than 80% wall thickness, and defects that will continue to develop internal corrosion.
The pressure bearing capacity of the sum of the composite material and the remaining wall thickness of the pipeline at the defect shall be at least equal to the pressure bearing capacity of the pipeline with the original wall thickness. If the axial distance between defects is less than 25mm, it is regarded as the same defect. When the circumferential spacing of defects is less than 6 times the wall thickness, it is regarded as the same defect.
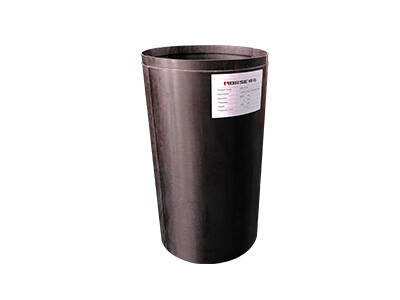
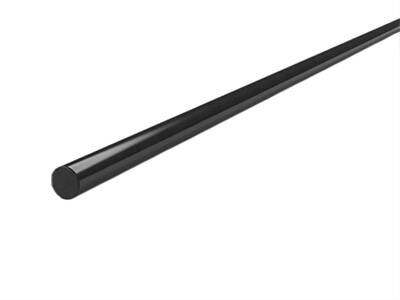
2. Material preparation
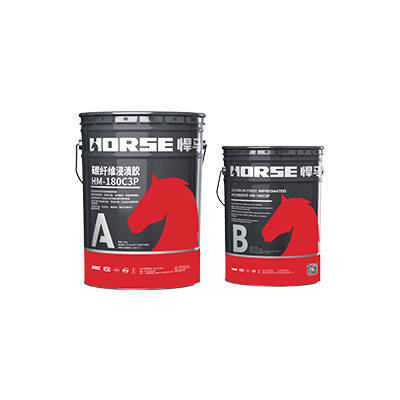
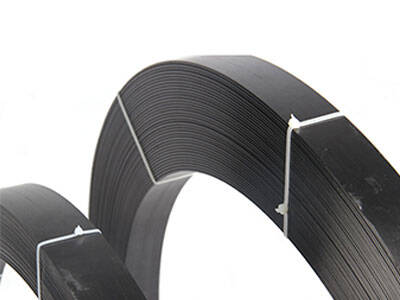
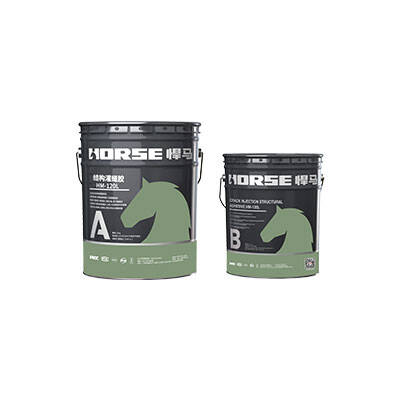
Determine the amount of carbon fiber cloth, special leveling glue and impregnating glue according to the defect information. The amount of impregnating glue is estimated according to the glue amount of 0.6Kg per 1 square meter of carbon fiber cloth.
3. On-site excavation
At least 800mm more excavation on both sides of the axial direction of the defect, at least 650mm on both sides of the pipeline, excavation, operation pit and grading requirements shall be implemented in accordance with the provisions of SY/T5918
4. Surface treatment of tube body
Remove the old anti-corrosion layer at least 500mm longer than both sides of the defect to be repaired. There should be no obvious old coating residue on the surface after cleaning, and the metal of the pipe body should not be damaged during the cleaning process. The removed old anti-corrosion layer shall not be disposed of on site, but shall be collected and disposed of in a unified manner in accordance with environmental protection requirements.
The length of the surface treatment shall be at least 100mm beyond each end of the repair. The rust removal grade on the surface of the pipe body to be repaired should reach the Sa2.5 grade required by GB 8923, and the abrasive and compressed air for sandblasting should be clean, free of oil and water.
5. Pre-work inspection
Check the length of the defect to ensure that the width of the repair layer exceeds at least 400mm on both sides of the axial length of the defect. When the defect distribution range is wide, continuous winding repair can be carried out, and the overlap width is not less than 200mm. Test the surface temperature of the pipe body to be repaired on site and check the operation records of the pipe section, and confirm that the operation temperature of the pipe body to be repaired is between 5°C and 35°C before construction.
It is strictly forbidden to work in rain, snow, fog, sand and other weather. When the temperature of the tube body is lower than 3°C above the dew point or higher than 60°C, and the relative humidity of the environment is greater than 90%, the repair work shall not be carried out without taking reliable measures.
6. Leveling the tube body
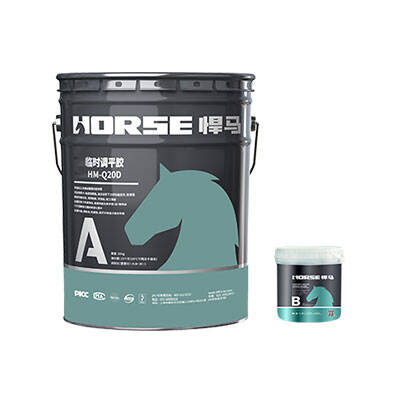
Prepare an appropriate amount of leveling glue according to the type of defect. In the preparation process, according to the proportion specified in the product description, the resin, curing agent and filler should be accurately weighed and put into the container. Stir with a mixer for 2 to 3 minutes to ensure that the resin and filler are fully mixed before use.
Use leveling glue to repair the concave parts (honeycomb, pockmark, small holes, etc.) on the surface of the pipeline to be flat, and repair the protruding parts (weld seams, metal protrusions) to a smooth transition. Make sure that the carbon fiber cloth is in close contact with the surface of the pipe when it is wound, and there is no gap or dead angle. After the repair is completed, let it dry for 20min-40min until the surface of the leveling glue is dry.
7. Glue preparation and painting
The resin and curing agent are accurately weighed according to the specified proportion and put into the container, stirred with a mixer for 2min~3min, ensure that they are fully put into the container, and stirred with a mixer for 2min~3min to ensure that they are fully mixed before use. The total amount of a single configuration should be controlled within 4kg, and the glue should be used within the applicable period after stirring. After the configuration is completed, leave 20g of reference glue and place it in the working environment to monitor the gel state of the glue. During construction, pay attention to stirring the glue to dissipate heat to prevent violent aggregation. If there is agglomeration and exothermic phenomenon in the glue during construction, stop using it immediately.
Apply a layer of glue or special primer on the surface of the pipeline to be repaired, with a thickness of not less than 300um. This construction should be completed within 2 hours after the surface sandblasting treatment. After the glue (special primer) is cured, electric spark leak detection, the detection voltage is not lower than 4kv, and the fiber cloth is wound after detection of no leakage point. After each winding week, apply a layer of glue on the surface of the fiber to ensure that the carbon fiber cloth is completely infiltrated by the glue before continuing to wind.
Control the ratio of resin dosage to fiber mass within the specified range to avoid excess resin sagging at the lower end of the pipeline after construction, which will affect the subsequent anti-corrosion coating.
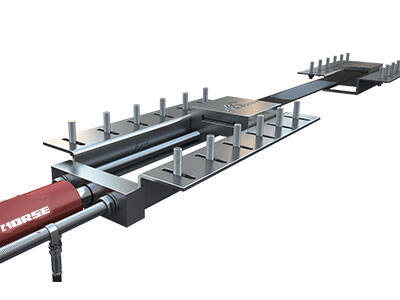
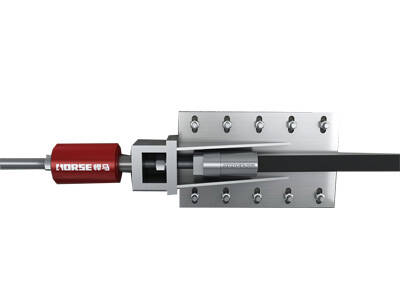
8. Fiber wrapping
Axial distance from defect Start to wind the carbon fiber cloth, wrapping around the defect and make sure that the fiber is perpendicular to the axis of the pipe.
During the construction process, there should be no air bubbles between the carbon fiber cloth layers, and the defoaming roller can be used to repeatedly roll along the fiber direction. The arched part of the weld should be rolled in the opposite direction to remove air bubbles. And make the glue fully penetrate the carbon fiber cloth to ensure that the surface of the repair layer is smooth and wrinkle-free, and there is no glue sagging. After the construction is completed, check the infiltration of the fiber cloth and glue, and rework immediately if any uninfiltrated fibers are found. If the fiber cloth needs to be lapped circumferentially during construction, the lap length should not be less than 200mm. After winding, use a brush or scraper to apply the remaining glue on both sides of the pipeline repair layer to prevent water vapor from entering the repair layer from both sides.
During the construction process, pay attention to temperature and humidity changes, and strictly control the construction under the environmental conditions applicable to the restoration technology. When repairing pipe elbows, in addition to following the above construction procedures, fiber cloth of appropriate width should be used to avoid wrinkles. The fiber cloth should be wound in a circle from the inside of one end of the elbow, and then spirally wound to the middle of the elbow. During the winding process, the axial lap length of the inner fiber cloth of the elbow is 75% to 80% of the width, and the outer fiber cloth is at least 50% axially lapped. Make sure the carbon fiber cloth wrap is always perpendicular to the pipe. After reaching the other end of the elbow, repeat the above construction method in reverse until the construction is completed.
When necessary, acetone and ethanol can be used to clean construction tools such as defoaming rollers and scrapers, and ensure that the tools are clean and dry before using them again.
9. Resin curing
During resin curing, if there is resin sagging in the pipeline, a scraper can be used to remove the excess resin. During the curing period of the repair layer, a shield should be used to prevent sand or rain from contaminating the surface of the repair layer.
10. On-site inspection
After the repair layer is cured, the actual bonding area of the repair layer should not be less than the design area, and the position deviation should not be greater than 10mm. Check the appearance of the repair layer. If it is found that the fiber fold height exceeds 2.5mm, the fiber is not infiltrated or the resin color is uneven, the repair layer should be removed and re-applied.
You can find anything here you are in need of, have a trust trying on these products, you will find the big difference after that.
